Replacing a Body Panel – Dodge Boxside


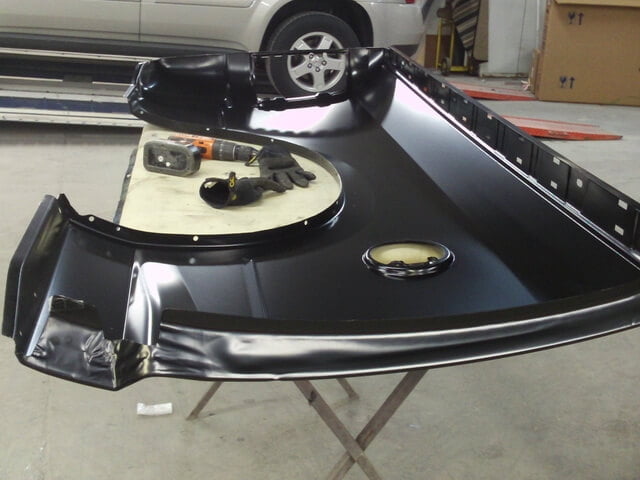


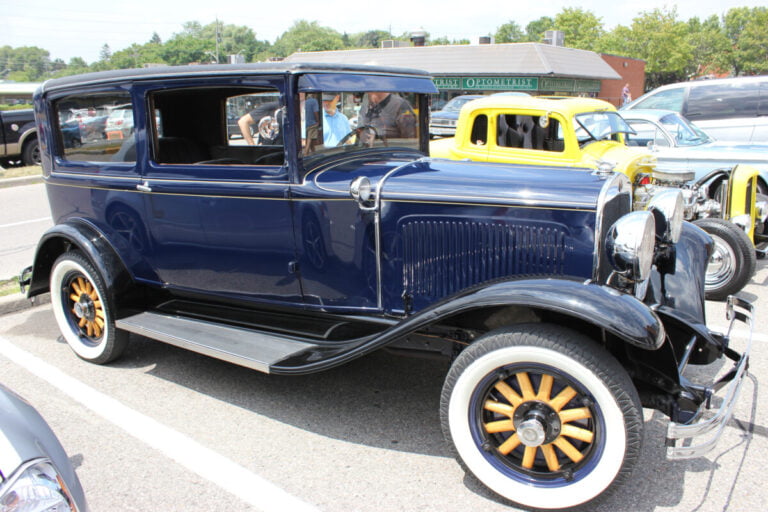
Automotive paint, also known as automotive finish, is the coating applied to vehicles to protect the metal body and give the vehicle a desired color and finish. The history of automotive paint dates back to the early 20th century and has evolved significantly over the years. In the early days of automotive production, vehicles were…

Applying a Primer Surfacer The goal when applying a primer surface to a panel is to provide holdout and protection over your substrate. Primer surfacers provide some fill to level out feathering and correct minor flaws on your panel. Any dent repairs involving body fillers should be finished in P180-P320 grit paper before starting a…

It happens to us all, after looking at your car in the driveway for a while you can’t help but wonder what it would look like in another color. While a good prep job can make it look good no matter what, here are a few things to consider. Painting it black can be…
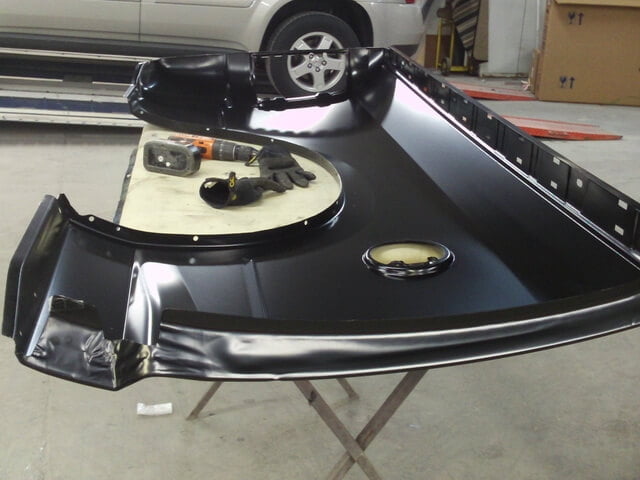
Repairing Dented Panels Repairing major or minor dents in body panels requires a skilled hand and feel for straightness. Although much of this is learned with experience you can still obtain a straight repair using a “guide coat” to help you achieve a good repair. Pre-Clean your Panel Wash your panel down with soap and…
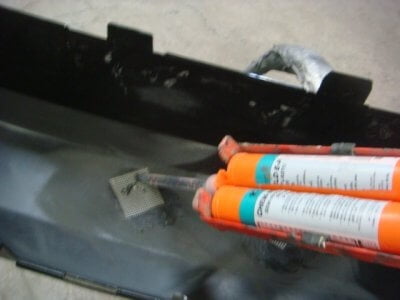
Here we have a beautiful brand new Dodge Ram pickup truck. Unfortunately human error has caused the bumper some discomfort. Due to some sort of confusion the holes for the license plate were incorrectly drilled. I have a hard time understanding how it happened personally, especially since there is a pair of divots indicating…
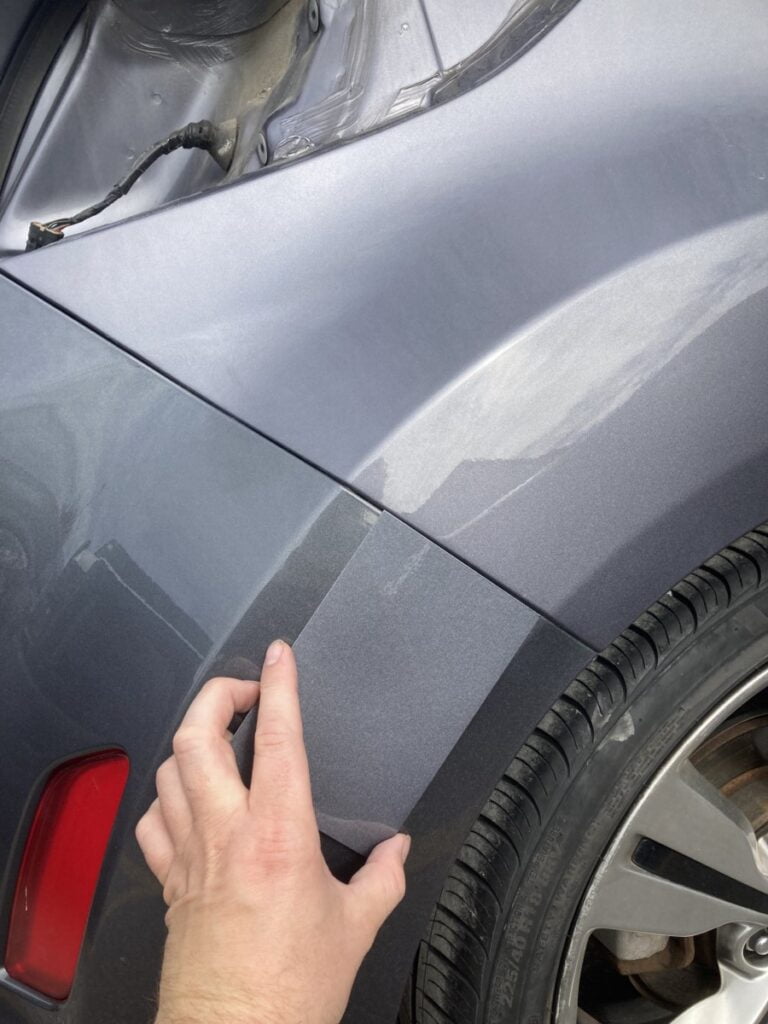
When a car is manufactured, it typically goes through a number of different processes, including assembly, painting, and final inspection. These processes may take place at different locations, including different factories or even different countries. In some cases, the bumper may be painted at a different location than the rest of the car, either due…