Dent Repair and Polyester Fillers
Dent Repair / Polyester Fillers
Polyester fillers are 2 part thick body fillers used for severe filling and/or minor dent filling. Polyester fillers come in several different varieties depending on what you are doing. Many people outside the trade may simply think of Bondo when they hear the term body fillers. Just to make sure it is clear, Bondo is just one manufacturer of polyester fillers. Also you may see me switch the wording around a bit between body filler and polyester filler; I am referring to the same thing. Polyester simply refers to the resin used in the filler. Here is a few of the common fillers you will see:
Long Strand Fiberglass | Short Strand Fiberglass | Body Filler | Finishing Putty / Glaze | Flexible Putty |
Polyester filler reinforced with long fiberglass strands. | Polyester filler reinforced with short fiberglass strands. | Thick Polyester Filler. | Thinned out polyester filler. | Flexible, thin polyester filler. |
Severe Filling, may include custom built fabrications. | Moderate Filling, may include custom fabrications or severe dent repair. | Moderate Dent repairs. | Small dent repairs, final skim coat over body filler or fiberglass. Often used to fill pinholes in body filler. | Used for small filling on plastic parts. Severe plastic repairs done with repair adhesives covered in plastic repair. |
¾” fill | ½”fill | ½”fill | ¼” fill | 1/4 “ fill |
These fillers all adhere well to bare metal; however you can apply an epoxy primer to the metal before beginning for optimal corrosion protection. Precoating with epoxy is not required but recommended by most paint manufacturers, there is still some debate on its effectiveness. The finishing putties (including flexible putty) can be used over well cured, old paintwork. Just remember the putty will only stick as well as the coating it is over.
Please note there are many new products coming out that may conflict with these instructions, check the technical data sheet for exact ratio’s and preparation procedures for your product. This may include fillers such as Quantum epoxy based fillers or the 3M dynamic body fill gun.
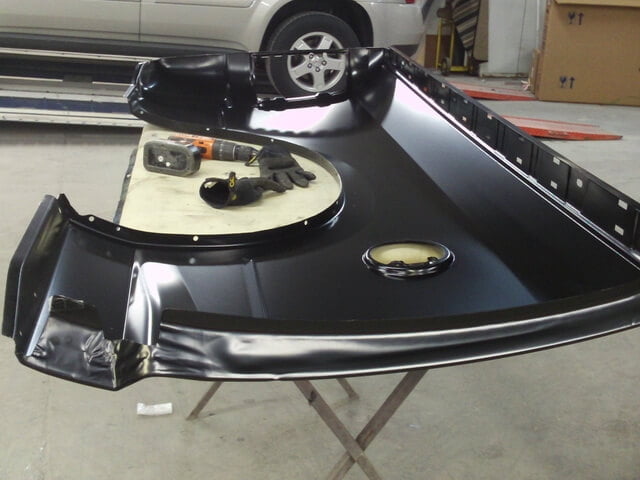
To prepare for body filling you must first get your panel as straight as possible. This typically includes using a dolly on the rear side of the panel and hammering it until the panel is fairly straight. When you cannot access the backside of a panel you can use a spot welder to tack on studs which can be used to pull the dent out. Once the dent is out you should use around a 50 grit grinding disc to remove the paint around the dent and a bit beyond. It is a good practice to take some 80 grit paper at this point and sand your hard paint edge down and feather out the paint layers. In the case of welded in metal, you will want to grind your welds down and a few inches beyond. Try to make your new metal roll inward rather than being higher than the rest of the panel.
Blow off your panel and use a solvent cleaner over the repair area. Mix your polyester filler using about 2-3% of the cream hardener on a mixing board. Do not mix more than 3% based on temperature, the weather does not influence this ratio, check the data sheet for your specific product for an exact ratio! Mix in a sweeping motion to eliminate any air pockets in the filler. Once you have a solid color, apply it to your panel. Apply it in small steps, fill your low spots first and gradually build it over the entire grinded metal area leaving it higher than the surrounding area. Do not mix on cardboard as it will introduce air into your mix, creating pinholes.
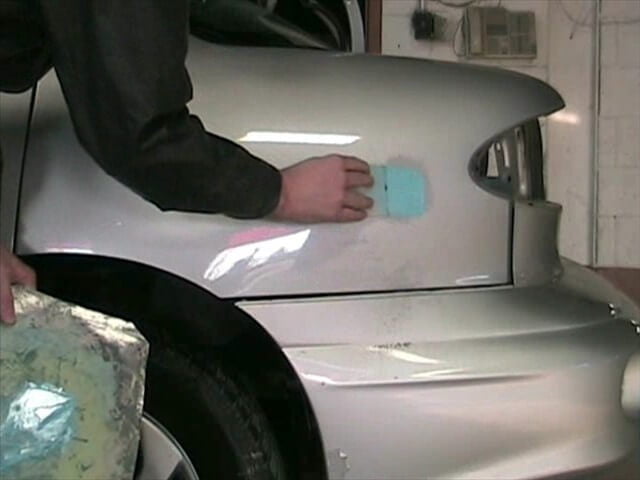
Your body filler will take about 10 minutes to dry before sanding. You have a few options on how you make your first cut. On small dents its best to just let it dry and block sand, on larger dents you can wait about 4-7 minutes when body filler first starts to harden but isn’t quite ready to powder off when you sand it, at this point you can:
Use a cheese file to shave down your filler as straight as possible; or use coarse sandpaper such as 40-80 grit and block it. If blocked at the right time it will sort of curl up and fall downwards, not creating dust or creating deep scratches. If the filler starts to gouge or create dust stop using the 40 grit. You can elect to skip this step entirely and wait for it to dry if you prefer. This is just a method of creating a general shape before actual sanding, once that is accomplished allow the body filler to fully dry and start block sanding with 80 grit paper.
With dry body filler you will want to start block sanding with 80 grit paper and finish in 120 before applying another skim of either body filler or finishing putty. You will likely find the bigger the block, the easier it is to get straight work so use one appropriate to the dent size. Sand your filler until it is feathered out into the metal blow off well and repeat the filler application and block sanding until you have a straight panel.
Next you will want to apply a finishing putty to fill in your 120 scratches and pinholes. Mix and apply your putty with a thin, even coat over your filler and a bit beyond. Allow that to dry about 10-15 minutes and begin block sanding again, this time start with 120 and finish with 180. Ensure you still have a straight panel, if not you may need to either continue sanding or reapply your finishing putty and sand again. You may feel the paint edge outside the metal; you can block sand over the paint layers to feather them out better (Use 180-320). Don’t forget with well cured paint you could apply your finishing putty over the (sanded) paint and feather it into the paint itself if you prefer.
Once your filler work is completed It is time to get it ready for primer surface. If you haven’t removed the trim from your panel now would be a good time to do it. For best results remove the door handles, mirrors, moldings…etc to allow proper sanding and paint access.


