Ten Ways to Screw Up a Paint Job
Most painters have a story to tell about the time that they strayed from the procedure, and things didn’t go quite the way they’d planned. Life in a collision repair shop is fast-paced, and it can be easy to make the same mistakes over and over without taking the time to evaluate a failure that is about to occur. Hopefully, you can’t relate to any of these, but if you do, it may be time to re-think your game plan.
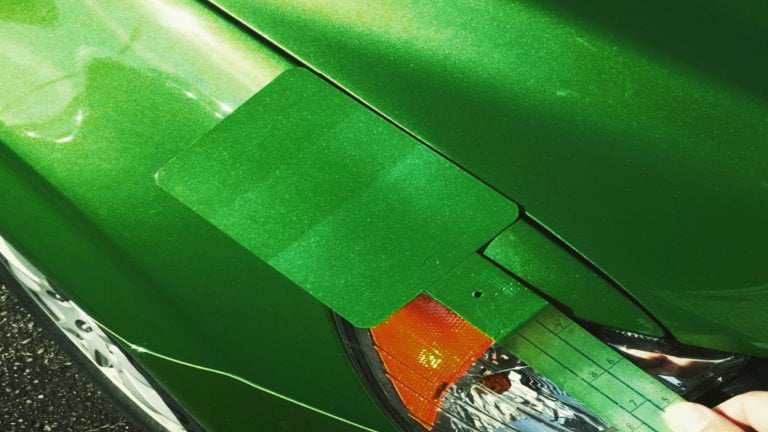
Matching a Color Without the Vehicle – perhaps one of the easiest and most common ways I’ve observed to mess up a paint job is when the decision is made to pre-paint a bumper without seeing the vehicle first. I’ll be honest in saying that some shops have a high success rate doing, but most do not! Either way, it will always be a guessing game, and you’re bound to have some unnecessary redos.
Filling Scratches with Basecoat – nothing is more frustrating than applying your first coat of silver just to realize that the prep department left a few 240 scratches for you to fix up. It’s surprising at how often this sort of thing makes it into the paint booth. Sometimes after a few heavy coats and an hour wasted you will get the job out the door, or sometimes you get to try it a second time. Using guide-coat after every sanding operation is a pretty easy way to avoid this.
Forgetting to Add Hardener to a 2k product – the most fun you will ever know involves wiping wet paint off of the side of a car. Most of the time when I’ve heard this the painter had an idea of what he did beforehand, but chose to roll the dice. I don’t normally support pouring away product, but if you’ve become distracted and somehow forgot whether or not you activated a product, just toss it and save yourself from this agony! Before you ask, spraying an activated product over an unactivated one will not produce a miracle in chemistry. It will, however, create an abstract, jello-like topcoat.
Using Hardener as Adhesion Promoter – now this may not be the most common occurrence, but these things happen. Paint cans are often shaped in the same way and labeled similarly, which makes it easy to grab the wrong product.
Admiring your work to close – maybe you’re spraying a fender-hood, roof-door, or a complete. Sometimes you just can’t help but wonder what effect you’re going to get by brushing up against it with your paint suit. Experience is the best solution here, but you can keep your clothing tight with a layer of tape around loose areas.
Using a dirty paint gun – while dust nibs are a pain to sand out and polish, you will know nothing more frustrating than seeing a cluster of black specs shooting out on your last coat of a white 3 stage. This one frustrates me more to see than any other paint problem because it can be extremely underappreciated. A poorly maintained gun will destroy your paint job in almost every way you can imagine. Nothing sprays better than a new gun, and it can spray like new for a long time if properly cleaned and maintained.
Waxing a car in the wash bay – most painters have an appreciation for the damage done by any silicone based product. Unfortunately, the rest of the shop isn’t generally as conscious. It’s difficult to fault the detailing department for wanting to use the best products to deliver the best looking vehicle possible. However, products simply cannot be allowed to go unchecked in a body shop. The first step I take when diagnosing a fisheye problem is to contact the manufacturer of every detailing product in the shop and throw away anything that hasn’t been approved for bodyshop use. The top offenders have usually been a vinyl dressing or wax. Avoid using a fisheye eliminator at all costs, most are silicone based themselves and will contaminate your spraying equipment.
Clearing over wet basecoat – there are a few different variations. If you were to do this over a visibly wet basecoat, you’d get a pretty instant disaster however, that is a bit less common. More often than not it’s an unconventional way of flashing basecoat that that causes a failure. With transparent colors, we tend to become impatient (especially if you skip the groundcoat). Shortcuts such as a quick high-temperature baking, or flashing off with a high-pressure air blower can dry off the top layer while leaving wet basecoat below. Such a practice can lead to a wide variety of problems including sinking, dieback, or clearcoat delamination.
Prime over 40 scratches – Ok hopefully, you don’t see this anymore, but 80 scratches are problematic too. To the dismay of many body technicians, we still don’t have any efficient primers that can be applied over coarse scratches without the expectation of sinking by the end of the paint cycle. If your mindset is that a few good bake cycles with the infrared lamp will prevent this, it won’t. Every 2k product, including your clearcoat will shrink as it dries and tightens up the coatings below. It may not always be instant, but at some point, that repair is destined to look like it was sanded using a chainsaw.
Unmasking a wet car - one thing’s for certain in this trade, you’ll never get tired of hearing the phrase “it’s gotta go!”. Unmasking a wet car can be a fun way to destroy your hard work. There’s something exciting about having your hands covered in wet clearcoat as you pray that the tape doesn’t separate and land in your clear. You could always choose the safe way and just give it that extra fifteen-minute bake that it requires, but hey, it’s gotta go!
There are so many creative ways to screw up a paint job outside of the typical “clear run on a style-line”, I’ve done and seen many of them. Hopefully, the next time you’re in a position to roll the dice on your paint job, common sense steps in to reminds you of how much time you’d save by not having to do it a second time.
Featured in Bodywox Magazine Here.

