Step-by-Step Guide to Car Repair and Painting
Car repair and painting can seem intimidating, but with the right tools and techniques, you can achieve professional-quality results. In this comprehensive guide, we’ll take you through the process from start to finish, covering everything from bodywork and prep to painting and blending panels.
First, let’s look at the process in three parts:
- Bodywork: This includes disassembly, repairs to metal, plastic, or other materials, and dent repairs.
- Prep: This covers feathering, priming, sanding, blend panel preparation, masking, and a final inspection.
- Painting: This includes spraying the necessary products, such as base and clearcoat, as well as non-sanding primers.
Cleaning
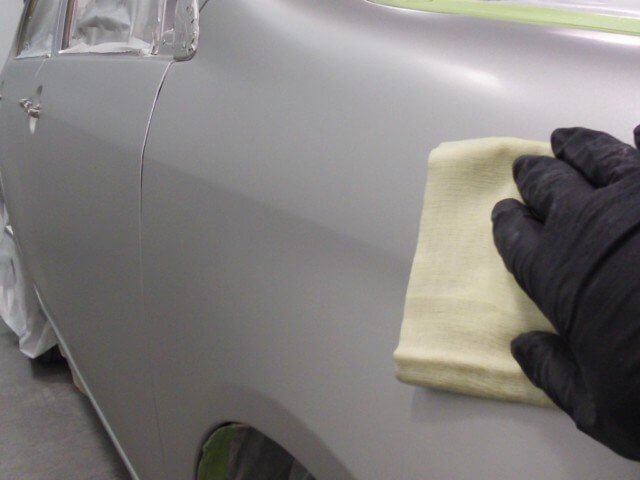
To get started, wash your car down thoroughly with soap and water, followed by a solvent-based degreaser. This will give you a good opportunity to check the car over and mark any damage you see and plan to fix. Next, remove any trim items from the panels you’ll be working on.
Before sanding, it’s important to understand blend panels. When you get paint from your supplier, it’s unlikely to be an exact match. To achieve an undetectable match, you may need to blend your paint into another panel. This is especially true for light metallics like silver and gold, which can be more challenging to blend. Decide if you need another panel to blend your paint into before you disassemble the car.
Body Repair
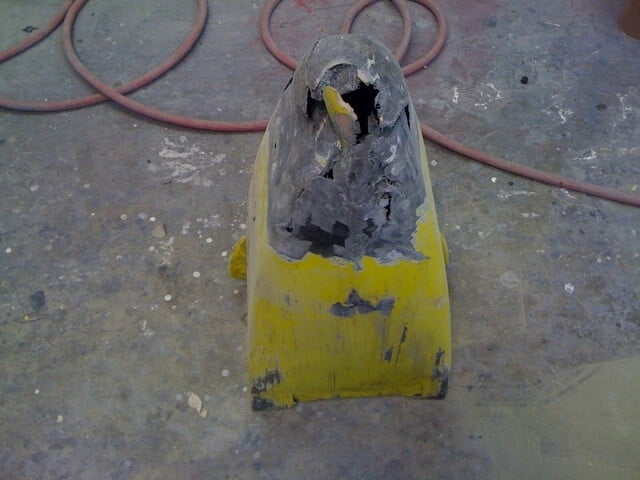
Once you’ve removed trim, you can start the repair process. For a small dent like the one shown in the video, use 80 grit paper on a dual action sander to sand the area down to the bare metal. A dual action sander moves in an orbital pattern and up and down, providing an even and consistent sanding.

Once you’ve sanded the area, you can apply body filler to the dent. Use a plastic spreader to apply the filler and a hammer and dolly to shape it. Once the filler is dry, sand it down with 180 grit paper, then prime and sand with 320 grit paper.
Primer
Next, it’s time to prep the surface for painting. This includes feathering the edges, priming, sanding, and masking. After you’ve completed these steps, do a final inspection to make sure everything is ready for painting.

Paint
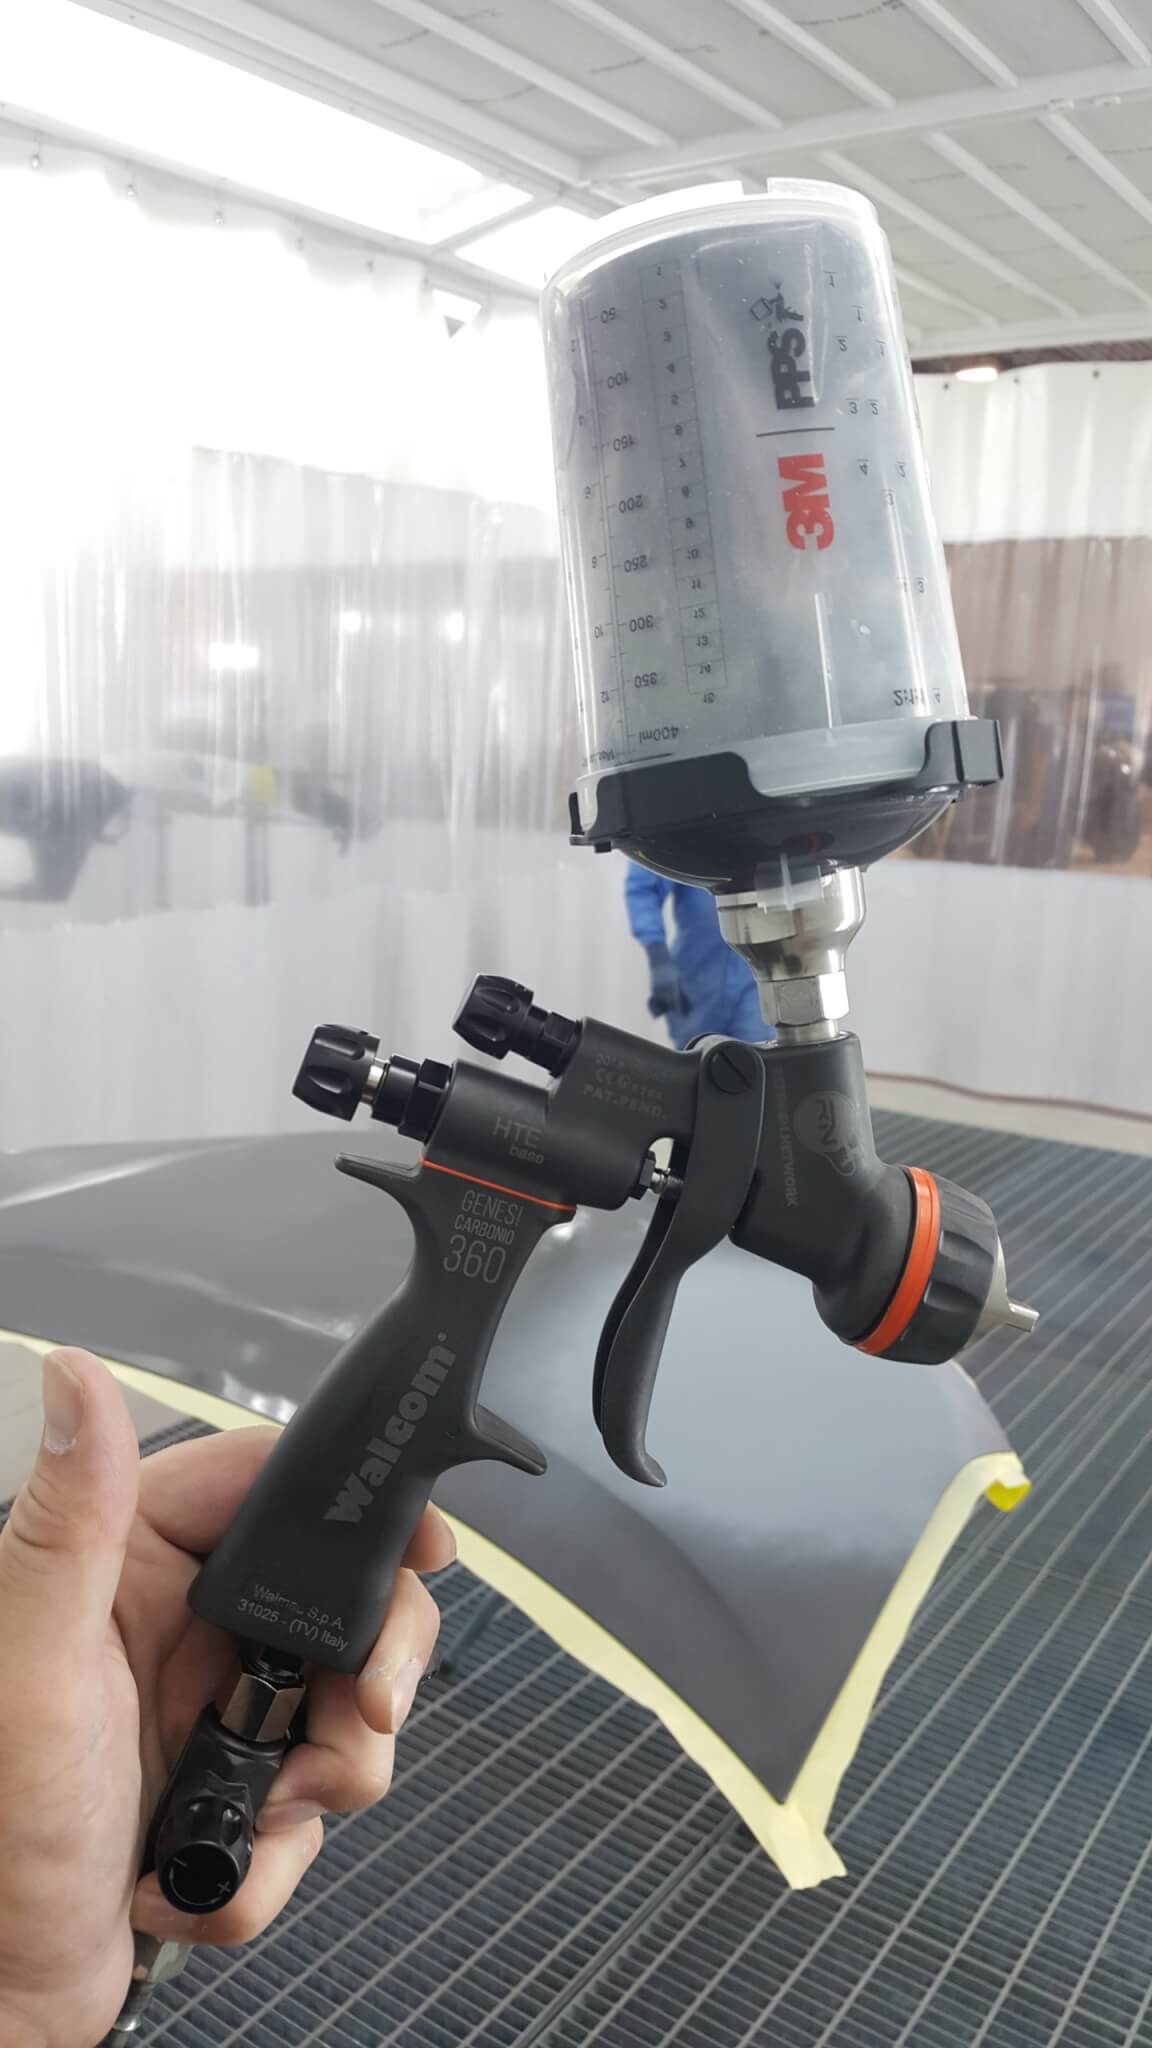
Now it’s time to start spraying. Depending on your project, you may need to use different products, such as basecoat and clearcoat. If you’re using waterborne paint, be sure to follow the manufacturer’s instructions for application and drying times. If you’re using aerosols, make sure to shake the cans well before use and test the spray pattern on a piece of cardboard to get a feel for the flow of the paint.
After you’ve sprayed the basecoat, you can apply the clearcoat. Allow the basecoat to dry according to the manufacturer’s instructions before applying the clearcoat. Once the clearcoat is dry, you can wet sand it with 1200 grit paper and buff it to a high gloss finish.
If you need to blend your paint into another panel, you’ll want to follow a similar process to the one outlined above. Sand the blend panel down to the bare metal, apply filler and sand, prime and sand, and then apply the basecoat. Be sure to feather the edges of the blend panel to achieve a seamless transition between the two panels.
By following these steps, you can achieve a professional-quality repair and paint job on your car. With the right tools and techniques, you can transform your car’s appearance and restore it to its former glory.


