How to Paint a PS4 Controller
Painting a PS4 Controller can add a unique twist to your console and bring some personality into your game. There are a few steps to follow to make sure you end up with a long-lasting finish. Being a thermosetting plastic, it is critical that you follow the cleaning and priming steps in order for the paint to adhere.
Step 1:
Clean the controller using soap and water.
Step 2:
Scuff the controller with a wet grey nylon pad. You also use it with a small amount of sanding paste to help clean it further.

Step 3:
Clean the plastic with a plastic cleaner and wipe dry.
Step 4:
Apply a light coat of Plastic Primer (also called Adhesion Promoter) to the entire controller. This should not be applied very heavy, but make sure to coat the edges. Allow the product to dry for about 15 minutes before the next step.

Step 5:
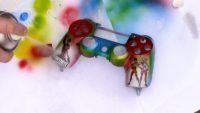
Apply your base color. You can begin your design using any base color you would like. I prefer to start with silver as many other colors look good better using it as a ground coat. After allowing it to dry for about 45 minutes, you can tape various designs and add colors. Use a good low-tack tape to prevent marking the paint.

Step 6 (optional):
Apply waterslide decals to the controller using this process. This is how the Fortnite design was transferred.

Step 7:
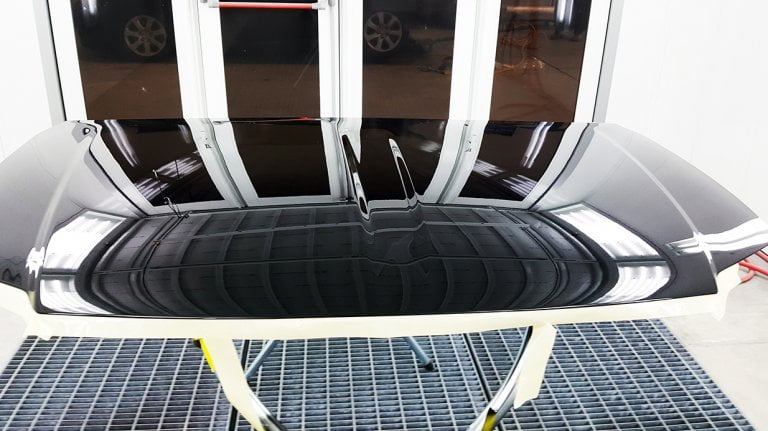
Apply a clearcoat. The best clearcoat you can use is a 2K clear. This has a hardener that is activated by pressing a button on the can prior to use. A 2K clear will provide the most durability possible to your controller. Otherwise, you can use a 1 part can. It will not provide the same protection or gloss, but will still look pretty good.


