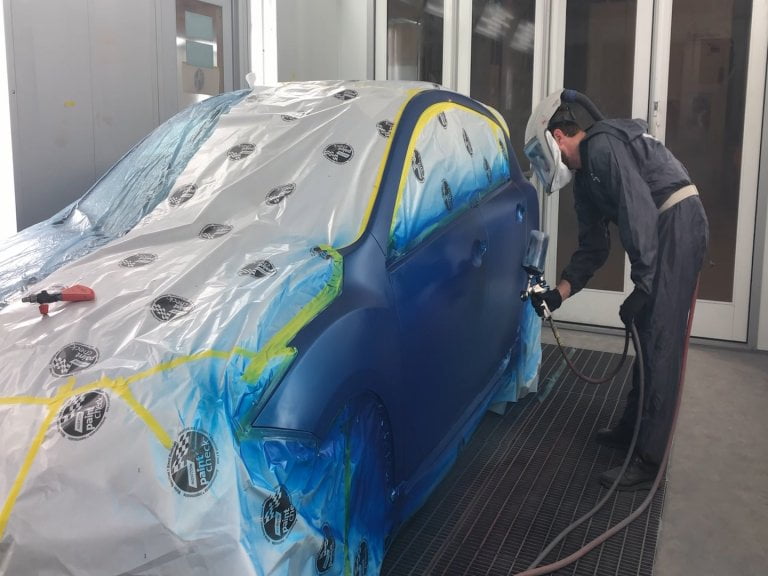
Mastering the Art of Clearcoat Blending
Blending automotive clearcoat is an important technique for creating a seamless, professional finish on a repair job or paint project. Clearcoat provides protection and a glossy finish to the base coat, and blending it correctly can help ensure that the repair is undetectable and the paint job looks flawless. Here are some steps to follow when blending automotive clearcoat:
- Sand the area to be blended: Use a fine grit sandpaper (around 800 grit or finer) to sand the edges of the repair area. Sanding helps to create a smooth, even surface for the clearcoat to adhere to.
- Clean and dry the surface: Make sure the surface is clean and dry before applying the clearcoat. Use a wax and grease remover to remove any contaminants and let the surface dry completely.
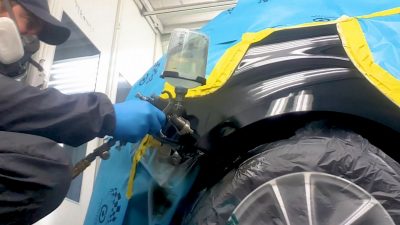
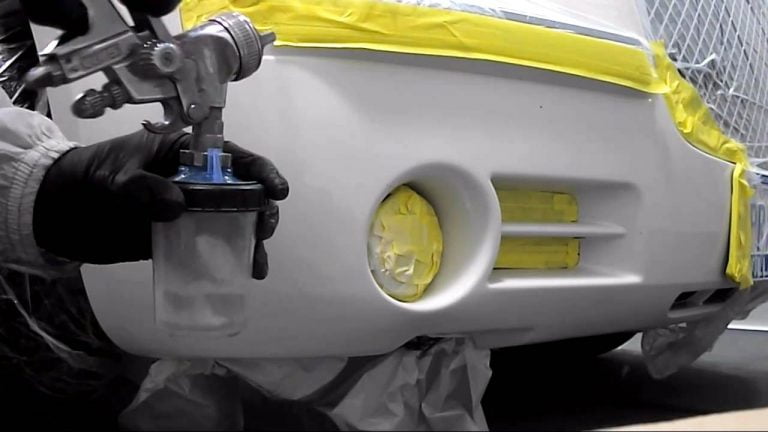
- Apply the clearcoat: Use a spray gun to apply the clearcoat to the repair area, making sure to overlap the edges of the repair with the surrounding paint. Use thin, even coats to avoid drips and runs.
- Allow the clearcoat to dry: Follow the manufacturer’s recommended drying time for the clearcoat, as it will vary based on the product and environmental conditions.
- Sand and polish the repaired area: Once the clearcoat is dry, use a fine grit sandpaper (around 1500 grit) to lightly sand the repaired area. This will help to smooth out any imperfections and create a uniform finish. Then, use a polisher and a fine grit compound to polish the repaired area, blending it seamlessly with the surrounding paint.
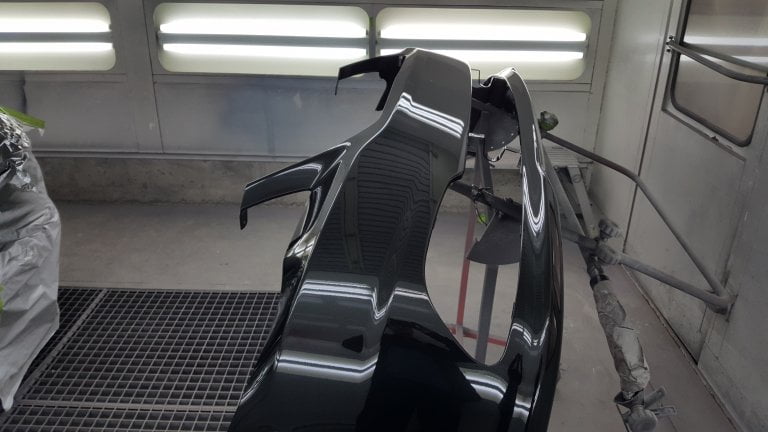
- Apply a final clearcoat: Once the repaired area is sanded and polished, apply a final coat of clearcoat to protect the paint and give it a glossy finish.
By following these steps, you can effectively blend automotive clearcoat and achieve a professional, seamless repair on your paint job.

